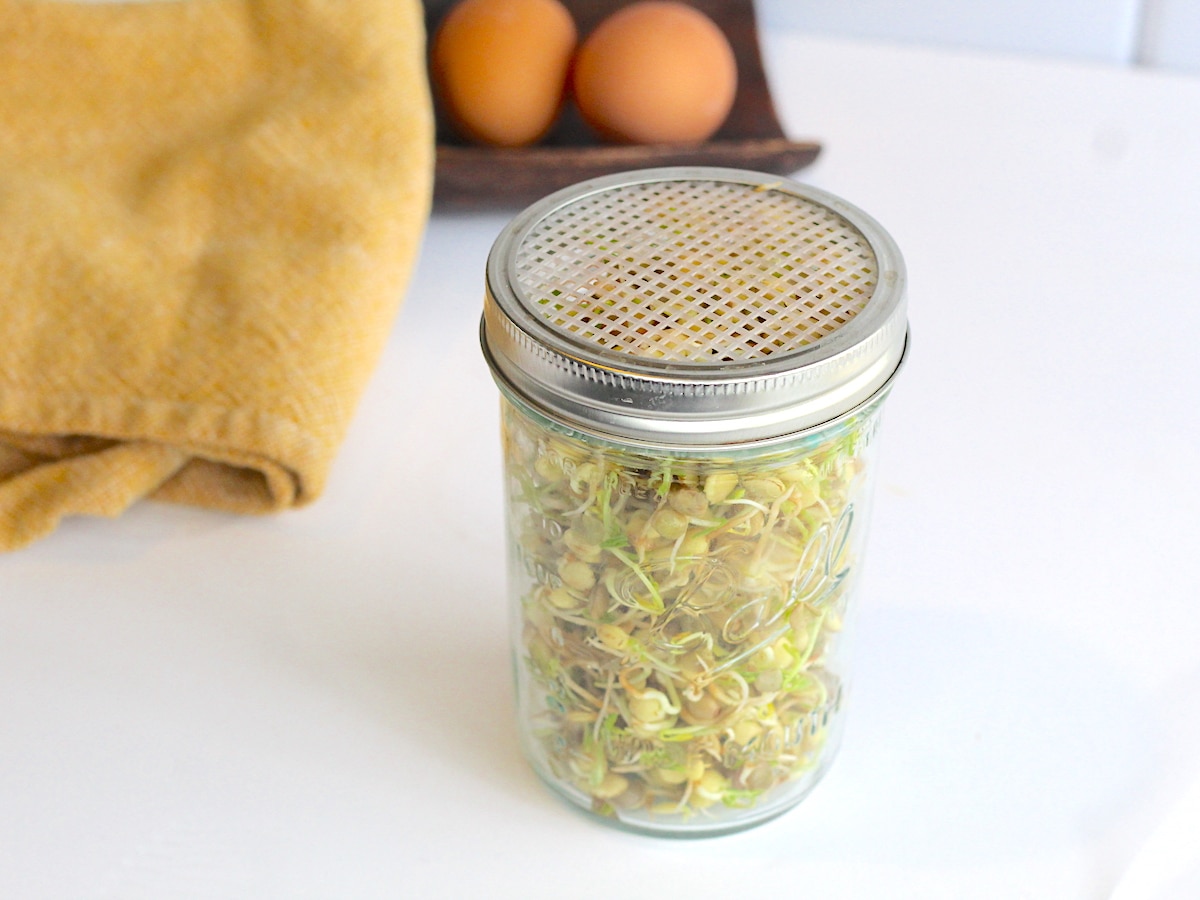
Sprouts are quick and easy to grow in a matter of days. They are the perfect way for anyone to grow their own produce without soil and in very small spaces!
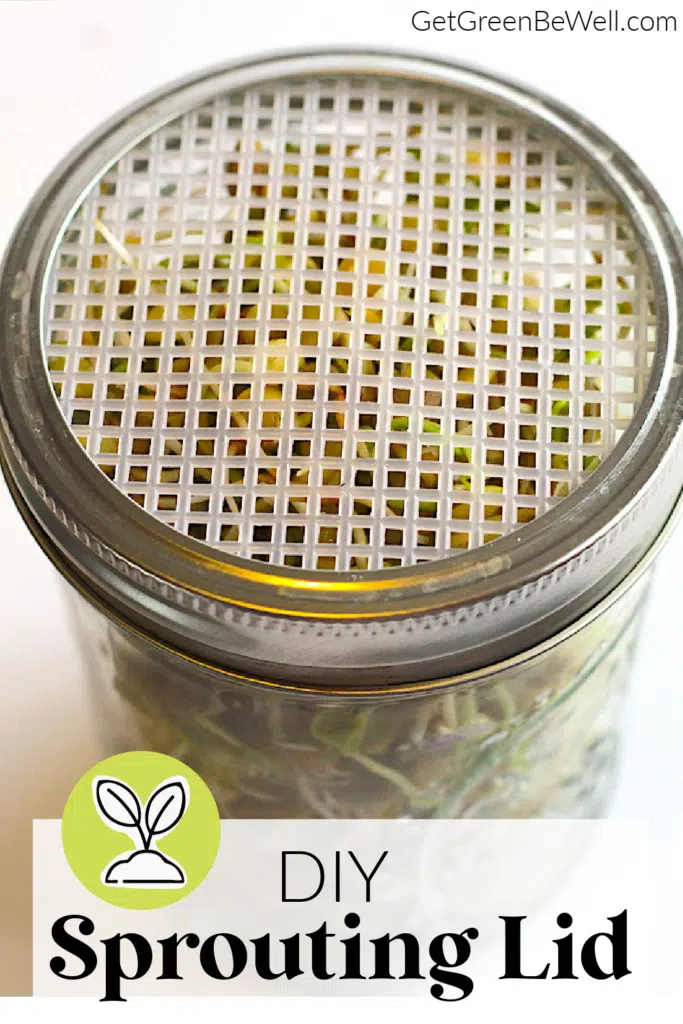
A sprouting jar is one of the easiest and most affordable ways to grow these nutritious greens, but you don’t need to spend a lot of money to get started! Our easy DIY sprouting lid takes just a few pennies to make in one minute or less!
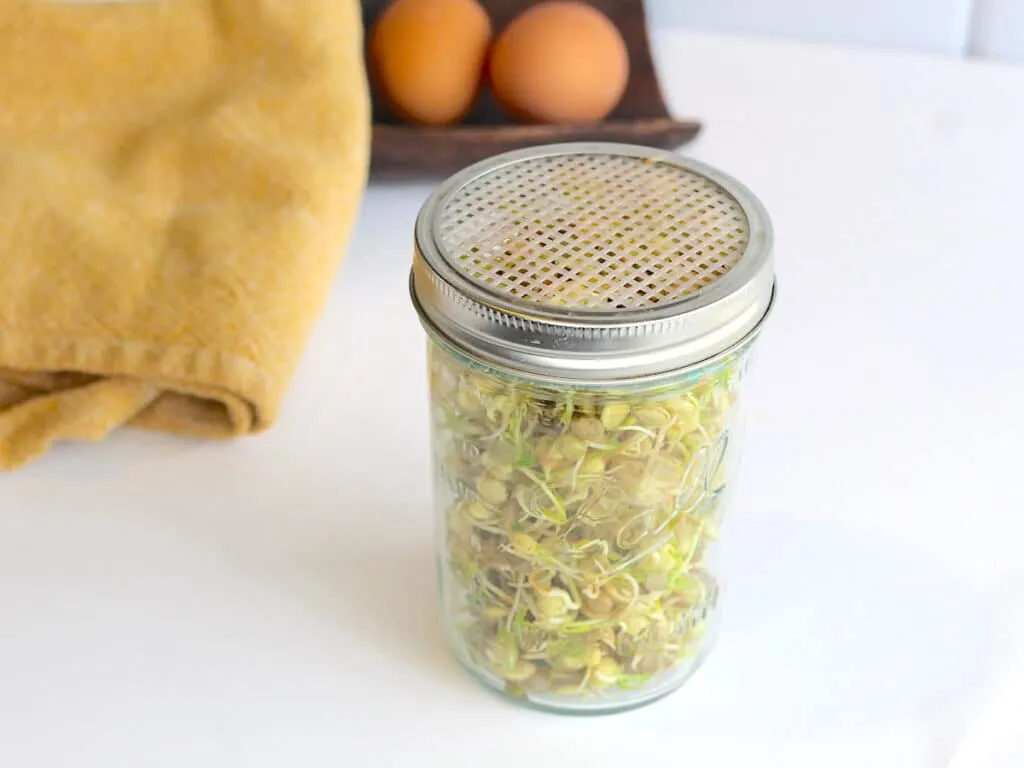
What is a Sprouting Lid?
Sprouting lids are put on top of jars to allow for air circulation and humidity control, while also preventing pests and debris from falling in the jar.
Mason jars are the most commonly used glass jars for sprouting. That is because they have lids and rings that work with a sprouting lid.
You can use any size of mason jar. Either regular width or wide width is fine! However, the wider the opening, the easier it will be to access the sprouts inside.
Mason jar sprouting lids are beneficial in so many ways:
- The increased air circulation will prevent mold from growing in the moist environment.
- The mesh top allows for easy draining. Just tip the jar to the side and drain the water out.
- Temperature and humidity can be controlled to match the environment because you won’t have a greenhouse effect with too much humidity inside the glass jar.
- You can store the sprouts in the same container they are grown in.
- Perfect for travel! Bring a jar, lid and seeds anywhere to grow fresh produce. It is perfect for campers and RVing.
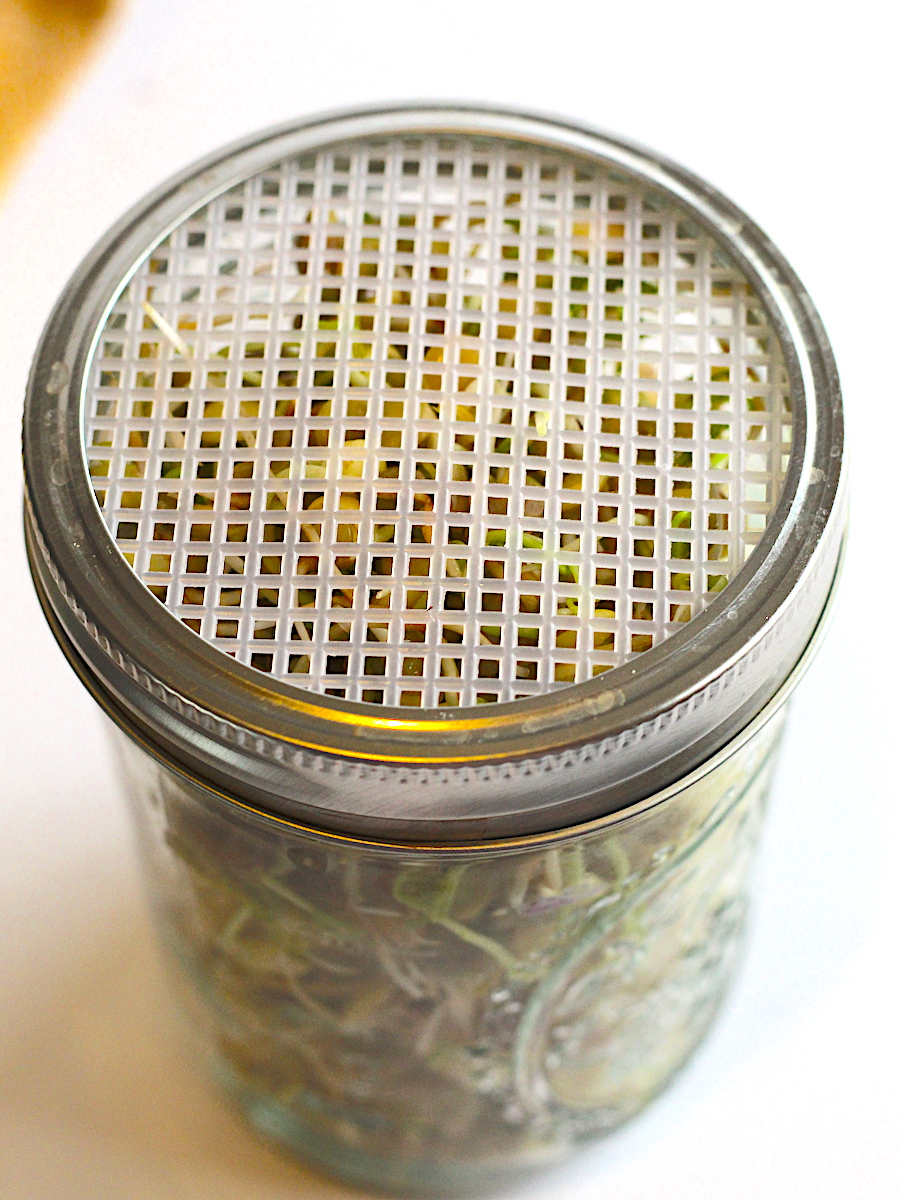
How to Make a Sprouting Lid
These DIY sprouting lids will save you so much money!
Sprouting lids can cost up to $6 each online, but you can make them for just pennies! So why would you spent more money than you need to?
Materials
- Mason jar ring and lid
- Scissors
- Marker
- Plastic canvas sheet (these cost around .50 cents each and can make several lids)
Directions
Step 1
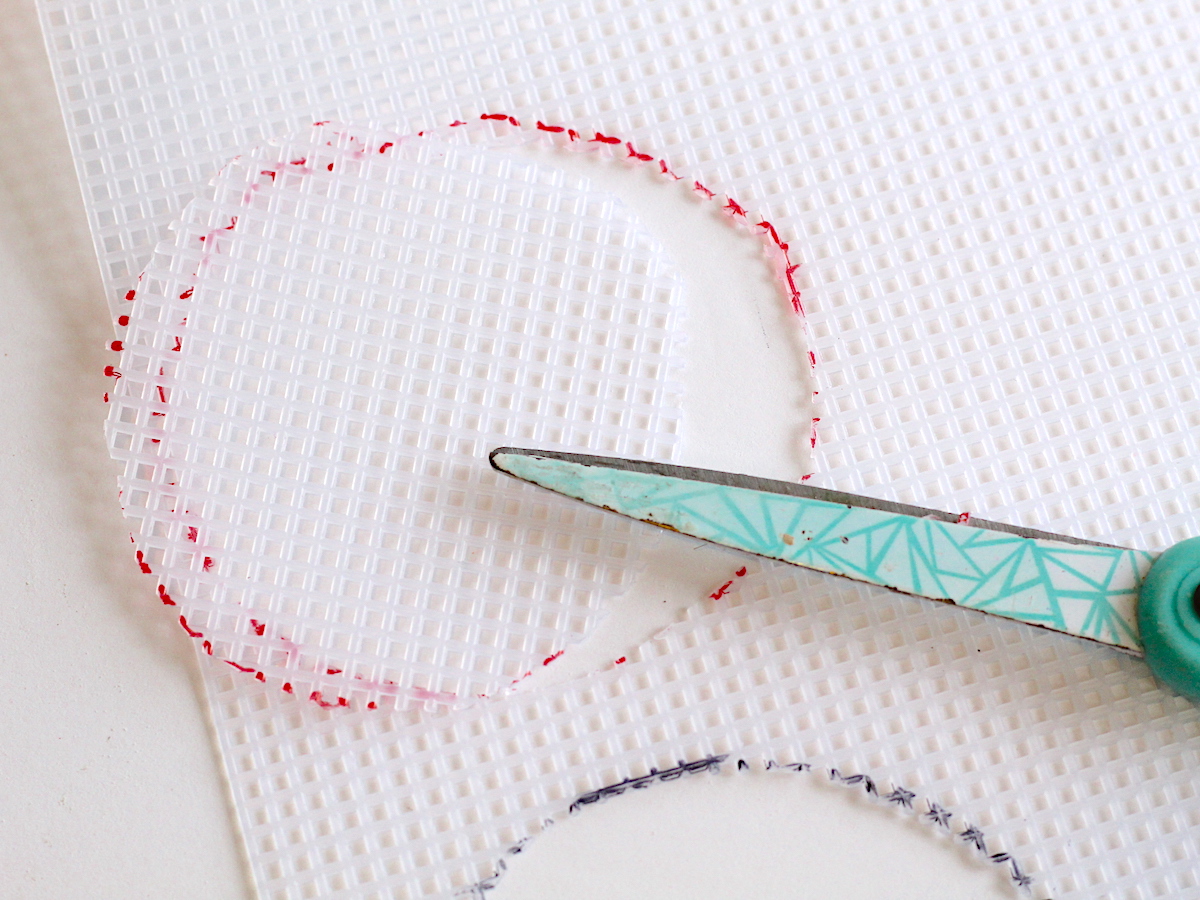
Use a marker to trace around the flat mason jar lid onto the plastic canvas sheet.
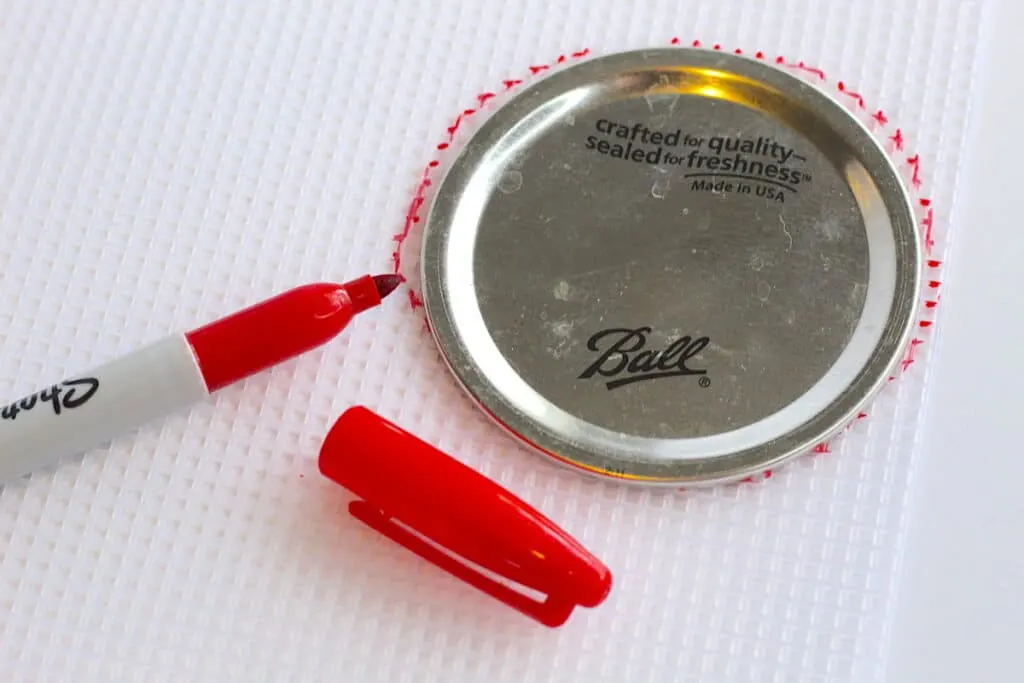
Cut out the circle. You can tidy up any uneven edges with the scissors but be sure not to cut off too much!
Step 2
Place the plastic sheet inside the mason jar ring where the flat lid would usually go. Screw the plastic canvas and ring on top of the mason jar of sprouts.
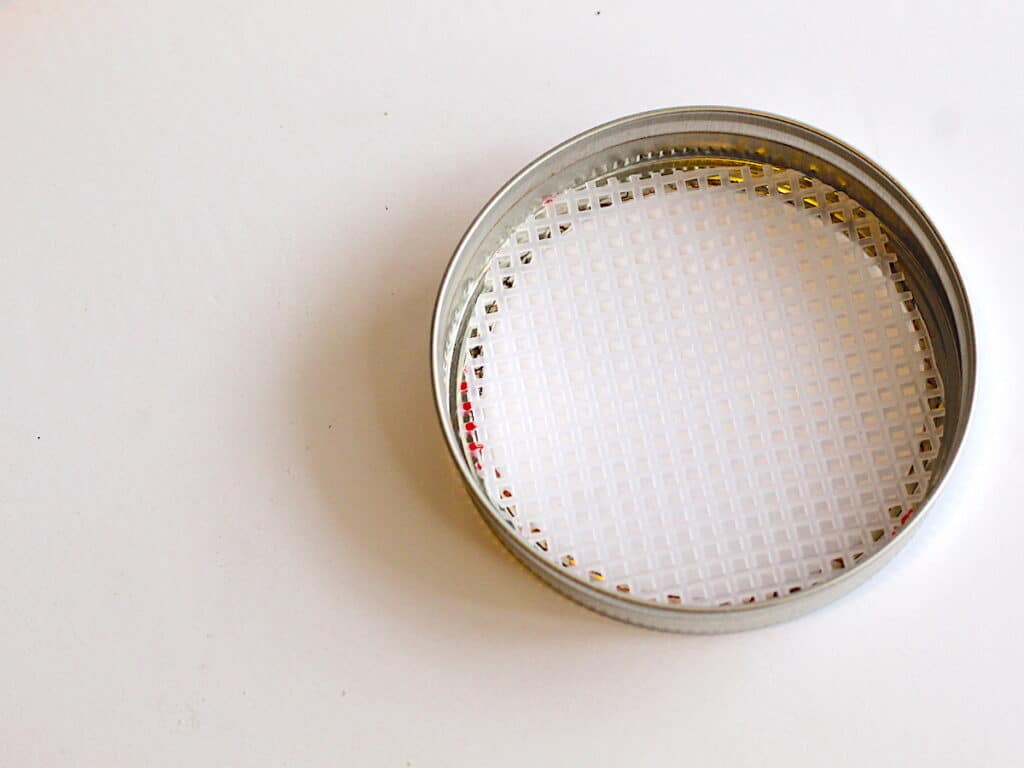
The plastic will allow drainage and be easy to clean and sanitize! Be sure to cut out several and keep them handy in the drawer so you can rotate them out.
Add to Your Emergency Kit
A sprouting lid is perfect to add to your emergency supply kit for a SHTF situation.
Sprouts can be grown in a few days, supplying fresh produce and lots of nutrition.
Since mason jars are often found in a prepper’s pantry, adding one of these DIY sprout lids and a few packs of sprout seeds to your stash is a smart idea.
I particularly love Botanical Interests sprout seeds and highly recommend their products!
Want to save this idea? Be sure to Pin It to Pinterest!
Want more homesteading tips? Check out these articles next:
